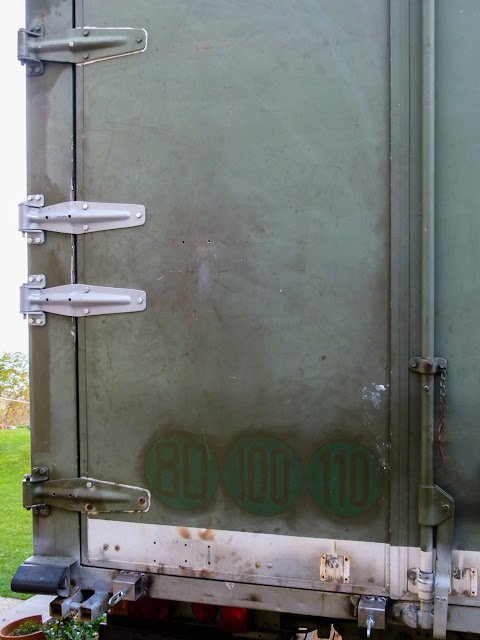
- Added more hinges to spread the load.
- Added a "sub-frame" that would go all the way to the bottom of the cabin and carry the load onto that strong "chassis".
1/ Initial sketch of the idea!
2/ Cutting-off some of the metal from original support frame
4/ Modyfing the position of the studs that hold the tire (because I now have rims with a wider offset).
- Cutting (grinding off) studs

- Welding studs sub-assembly (from another subframe)

5/ Inserting screw-in fasteners on back steel frame of cabin. I have to put additional "back-up" metal behind the sheet metal to reinforce it.
- Steel flat stock will be inserted in the opening I made on side of cabin
- Screw-in fasteners are inserted and seared
- The flat steel stock will be cut flush with the side of cabin.
6/ On back door, lining up where additional hinges will be fitted
8/ Welding is finished...
NB - On above picture, the bottom part of the subframe will "encase" the chassis of cabin and will be locked in place by 2 Anti-Luce drop pins that can be seen on picture below. ALL the weight of the spare tire will be transferred there. The side hinges are only to hold the carrier in position.
9/ It fits (... and should work)!
- A new handwinch will be fitted to lift effortlessly the spare tire (via the steel cable).
NB - The spare tire had to be fitted a bit high in order to preserve the excellent departure angle of the Land-Roamer!


